Migrating Home Assistant to an Intel NUC
 Carlos Sahuquillo
·
9 junio, 2022
·
11 min de lectura
Carlos Sahuquillo
·
9 junio, 2022
·
11 min de lectura

Idioma:CastellanoEnglish
Yes, I know I’ve been pretty relentless about Home Assistant when I’m supposed to be a die-hard HomeKit fan. And that’s completely true, out of all the home-automation ecosystems I’ve tried, HomeKit is by far my favorite. It works really well, it’s easy to set up, and the automations aren’t too complicated… but it’s missing a few things and, in my case, I could never fully get rid of the delay between Aqara wall switches and Philips Hue lights. With Home Assistant, that delay disappeared from minute one.
Home Assistant isn’t perfect. You’ll remember what I told you a few weeks ago when I talked about all the limitations I’d run into with Home Assistant, some due to my lack of knowledge and others due to the project’s lack of maturity — because even though it’s a super active project with a great community behind it, there are still things that need polishing or implementing.
One of these limitations is exactly what I want to talk to you about today: high availability and fault tolerance. Some of the folks from the Domótica Compatible Discord server or on Twitter suggested that I reduce logging to the bare minimum so the Raspberry Pi’s memory card would last as long as possible. Those of you who’ve tinkered a bit with Raspberry Pi’s know their endemic curse: SD card data corruption. Sure, you can work around it by adding a standard SSD hard drive or a USB storage stick, but if you rely solely on the SD card, sooner or later you’ll run into trouble.
This data corruption issue is easily solvable: you just need to have a spare memory card and a cloud backup of all your Home Assistant configurations, which you can do without a hitch using the plug-in that saves backups to Google Drive (more on that later), but when the card dies you’ll need a few minutes to run through this procedure, and in the meantime, the automations won’t work… neither will the lights… nor the sensors… nor the switches, in my case… nothing. It’s true the process is fast and almost seamless, the backup is PERFECT and you can restore it, reboot the Pi, and off you go — but those 10 minutes will feel very long if your wife is waiting with shampoo in her hair in the dark bathroom because the breaker tripped and the Pi took the opportunity to corrupt the SD card from the sudden power cut. Yes, this is a «live-cdote» as Buenafuente and Berto Romero would say.
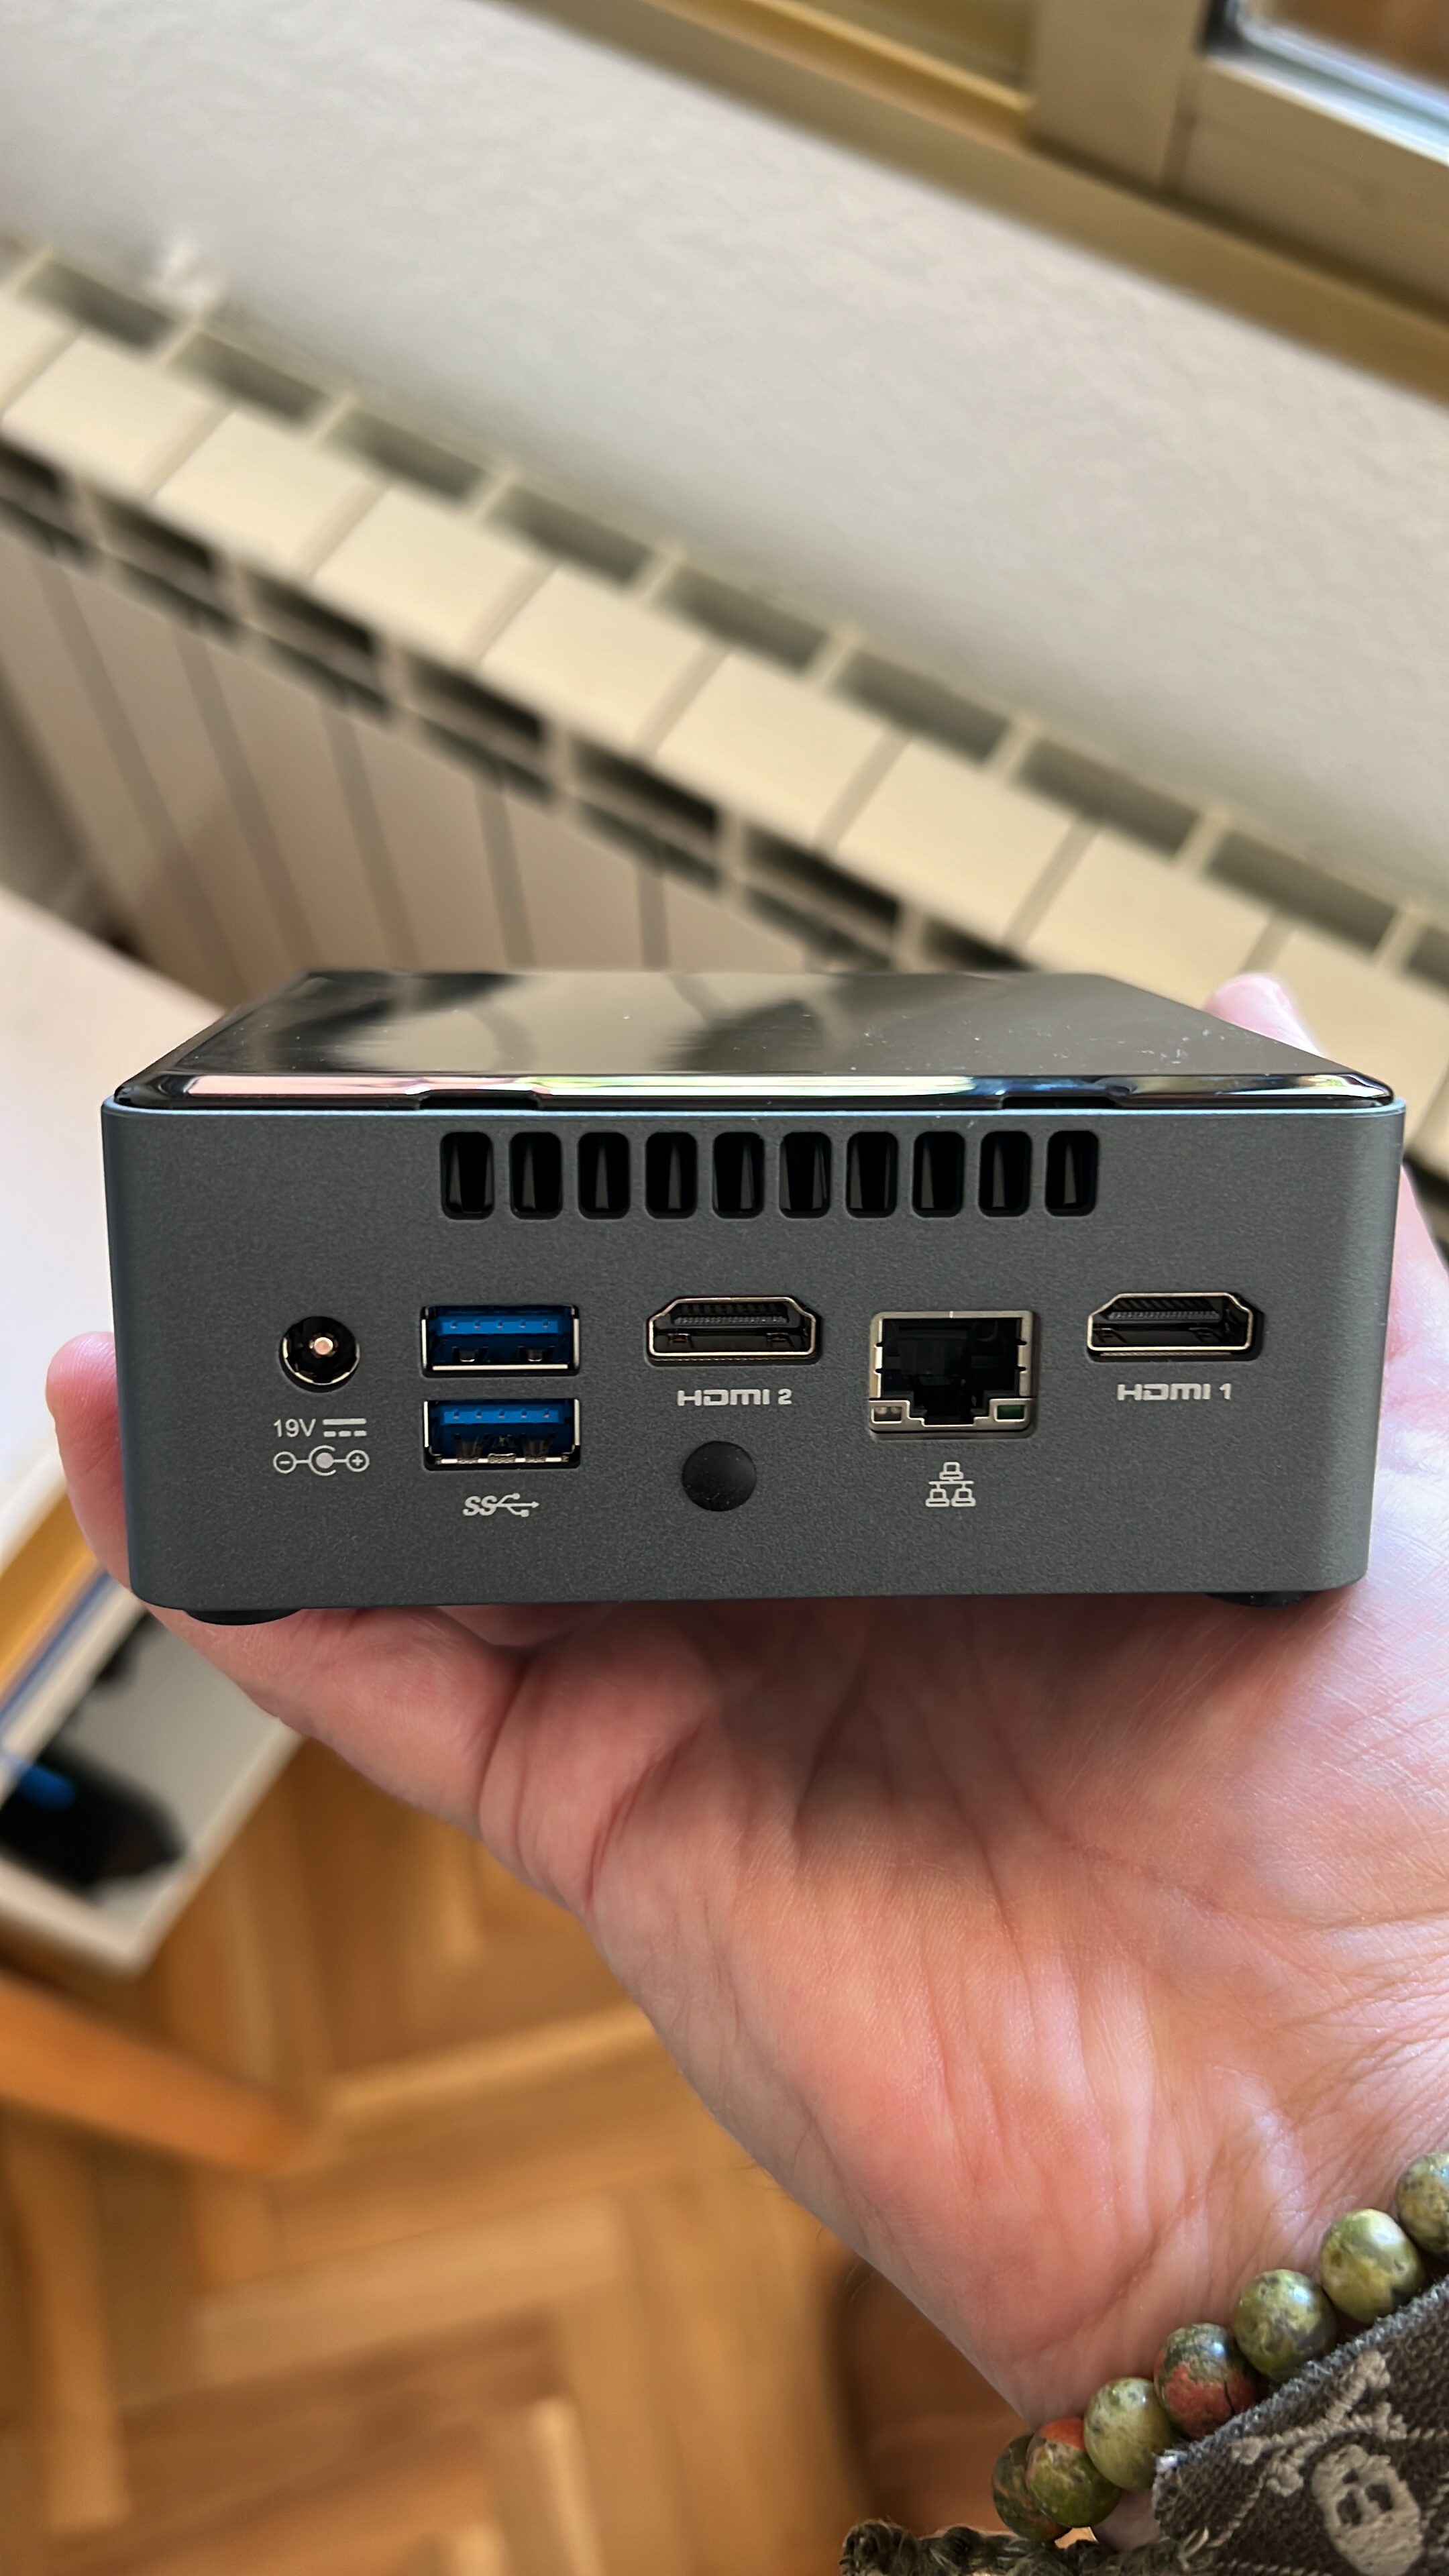
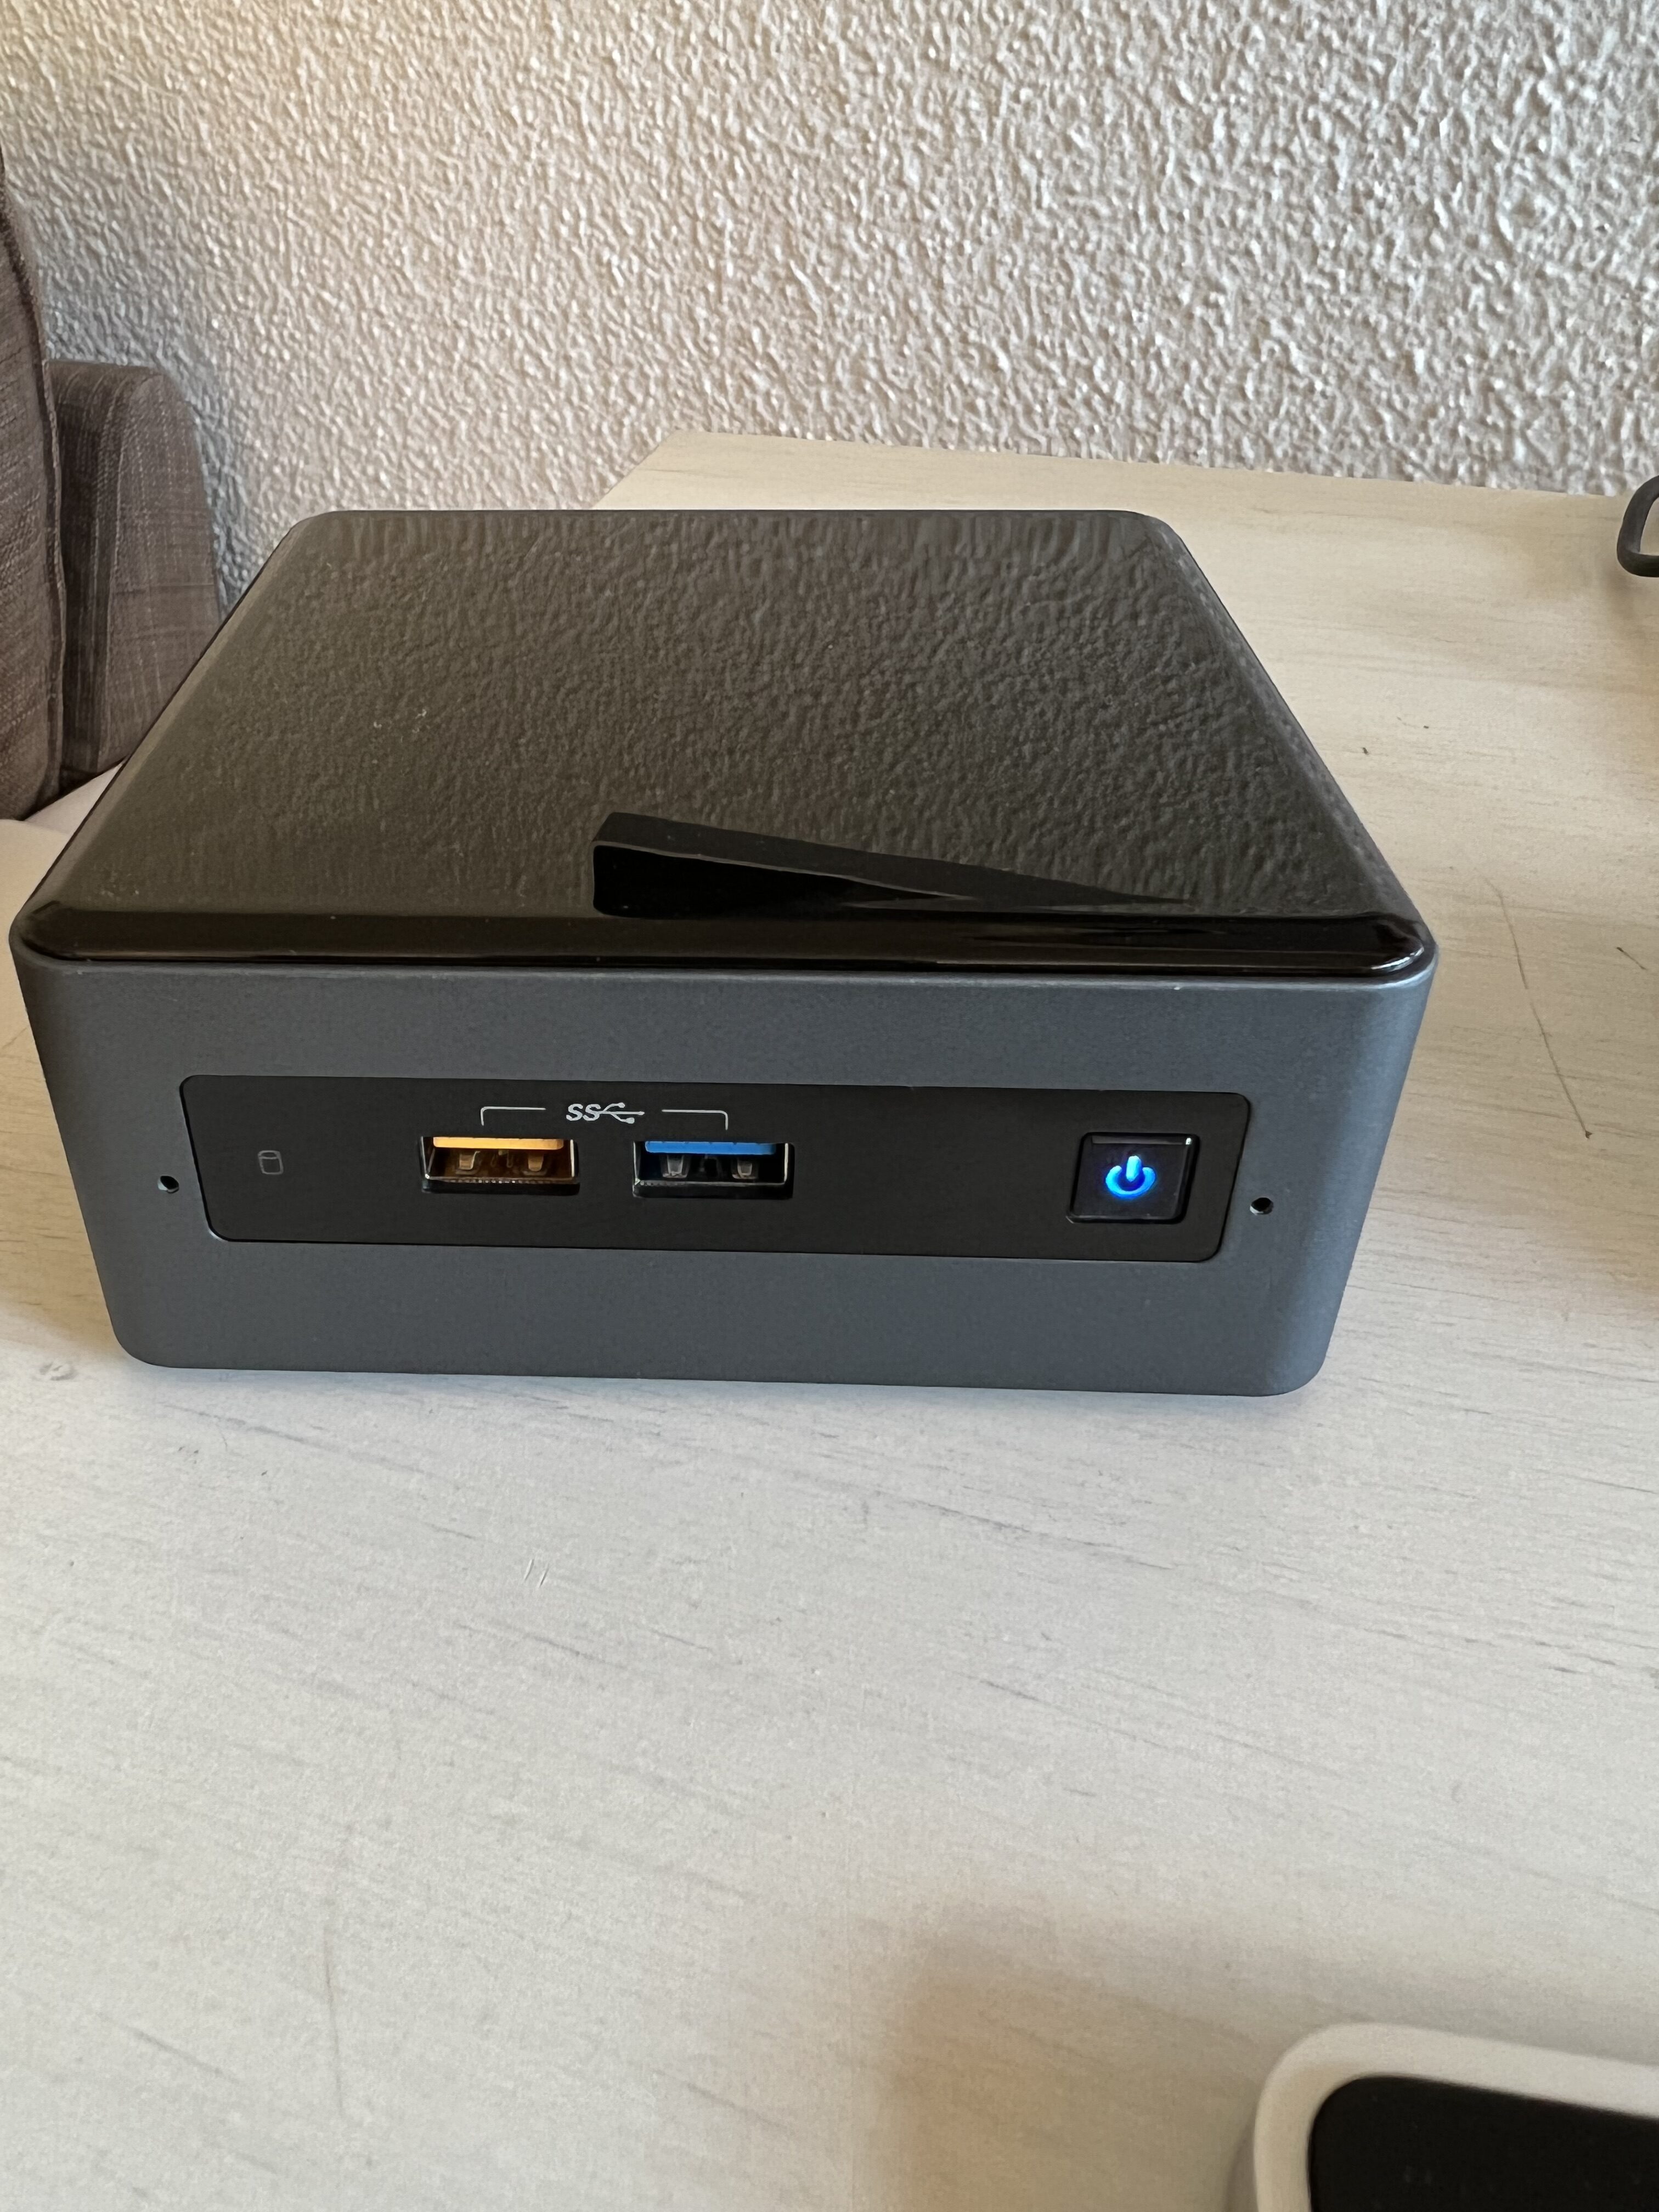
That’s why this week I decided to migrate Home Assistant from the Raspberry Pi 4 I was using to an Intel Nuc. The Intel Nuc is a small Intel computer with power consumption very similar to the Pi’s, but with a standard SSD hard drive that you can expand or swap out anytime, just like the RAM. Much more «scalable» than a Pi.

Backing up Home Assistant
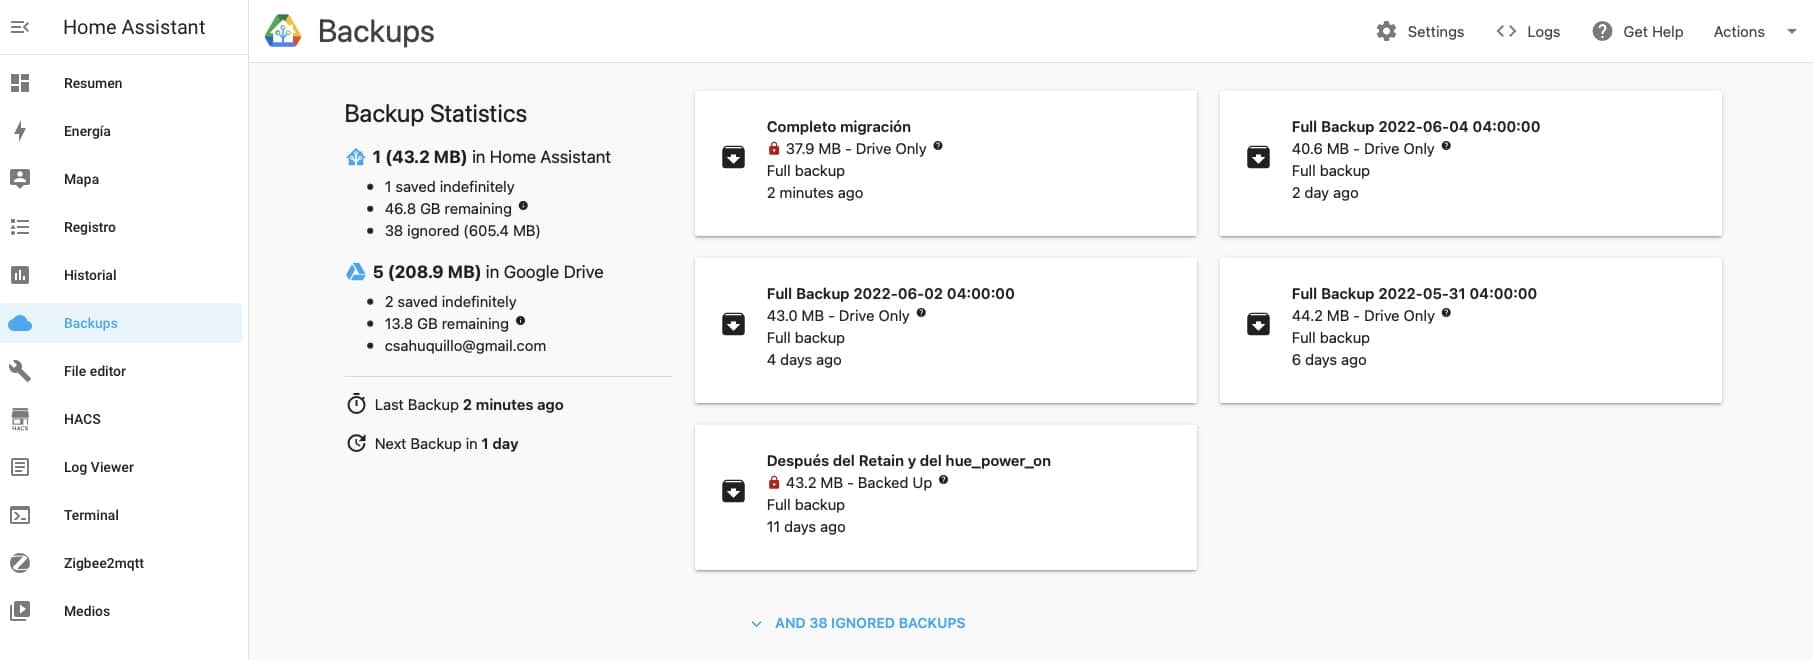
Many of you have told me you run Home Assistant in a virtual machine. This obviously simplifies the backup process a lot, since you can take a full system snapshot or copy the entire virtual machine and move it to another device. Zero hassle and a very simple process. But I don’t run Home Assistant in a virtual machine — that would make sense if I wanted to use the host system (in this case, the Nuc) for other virtual machines too… and in my opinion this introduces a new point of failure, since Home Assistant in that case is running on top of another vendor’s hypervisor, meaning operating system on top of operating system… and of course whether it’s VMWare, ProxMox, or whatever virtualization system you use, it has its own bugs and updates. Since in my case I don’t need the host system for anything else, I can skip that extra layer and install Home Assistant directly as the machine’s operating system. In this case, the best solution I’ve found for making backups is an add-on called Home Assistant Google Drive Backup, which gets installed in Home Assistant by adding the repository to the Home Assistant add-on store. No, don’t stress, it’s nothing complicated: go to Settings, Add-ons, Add-on Store, and from the three little dots in the top right go to Repositories and add the repository https://github.com/sabeechen/hassio-google-drive-backup.
Installing Home Assistant on the Nuc
You won’t believe it, but this was the trickiest part! Home Assistant is available for the Intel Nuc platform, but it’s not as simple as downloading an ISO onto a USB drive, making it bootable, and kicking off the installation… On the Pi it really was that simple — in a few minutes it installed with no issues just by flashing the Home Assistant ISO onto an SD card — but with the Nuc there’s a bit more involved. First of all you need to disable Secure Boot, which tells the system which images are valid to boot from. Don’t worry, it doesn’t affect system security — this method was invented years ago so that someone with a Linux CD couldn’t boot into any system, access the drive, and format it to install that Linux. Imagine if you could do that with an ATM, and with your Linux already installed you could send messages to the dispenser to empty out the cash drawers. To be able to boot the Nuc and install an operating system image like Home Assistant, which is neither Linux nor Windows, you have to disable this protection. You just do it in the BIOS, that’s it, it’s very simple.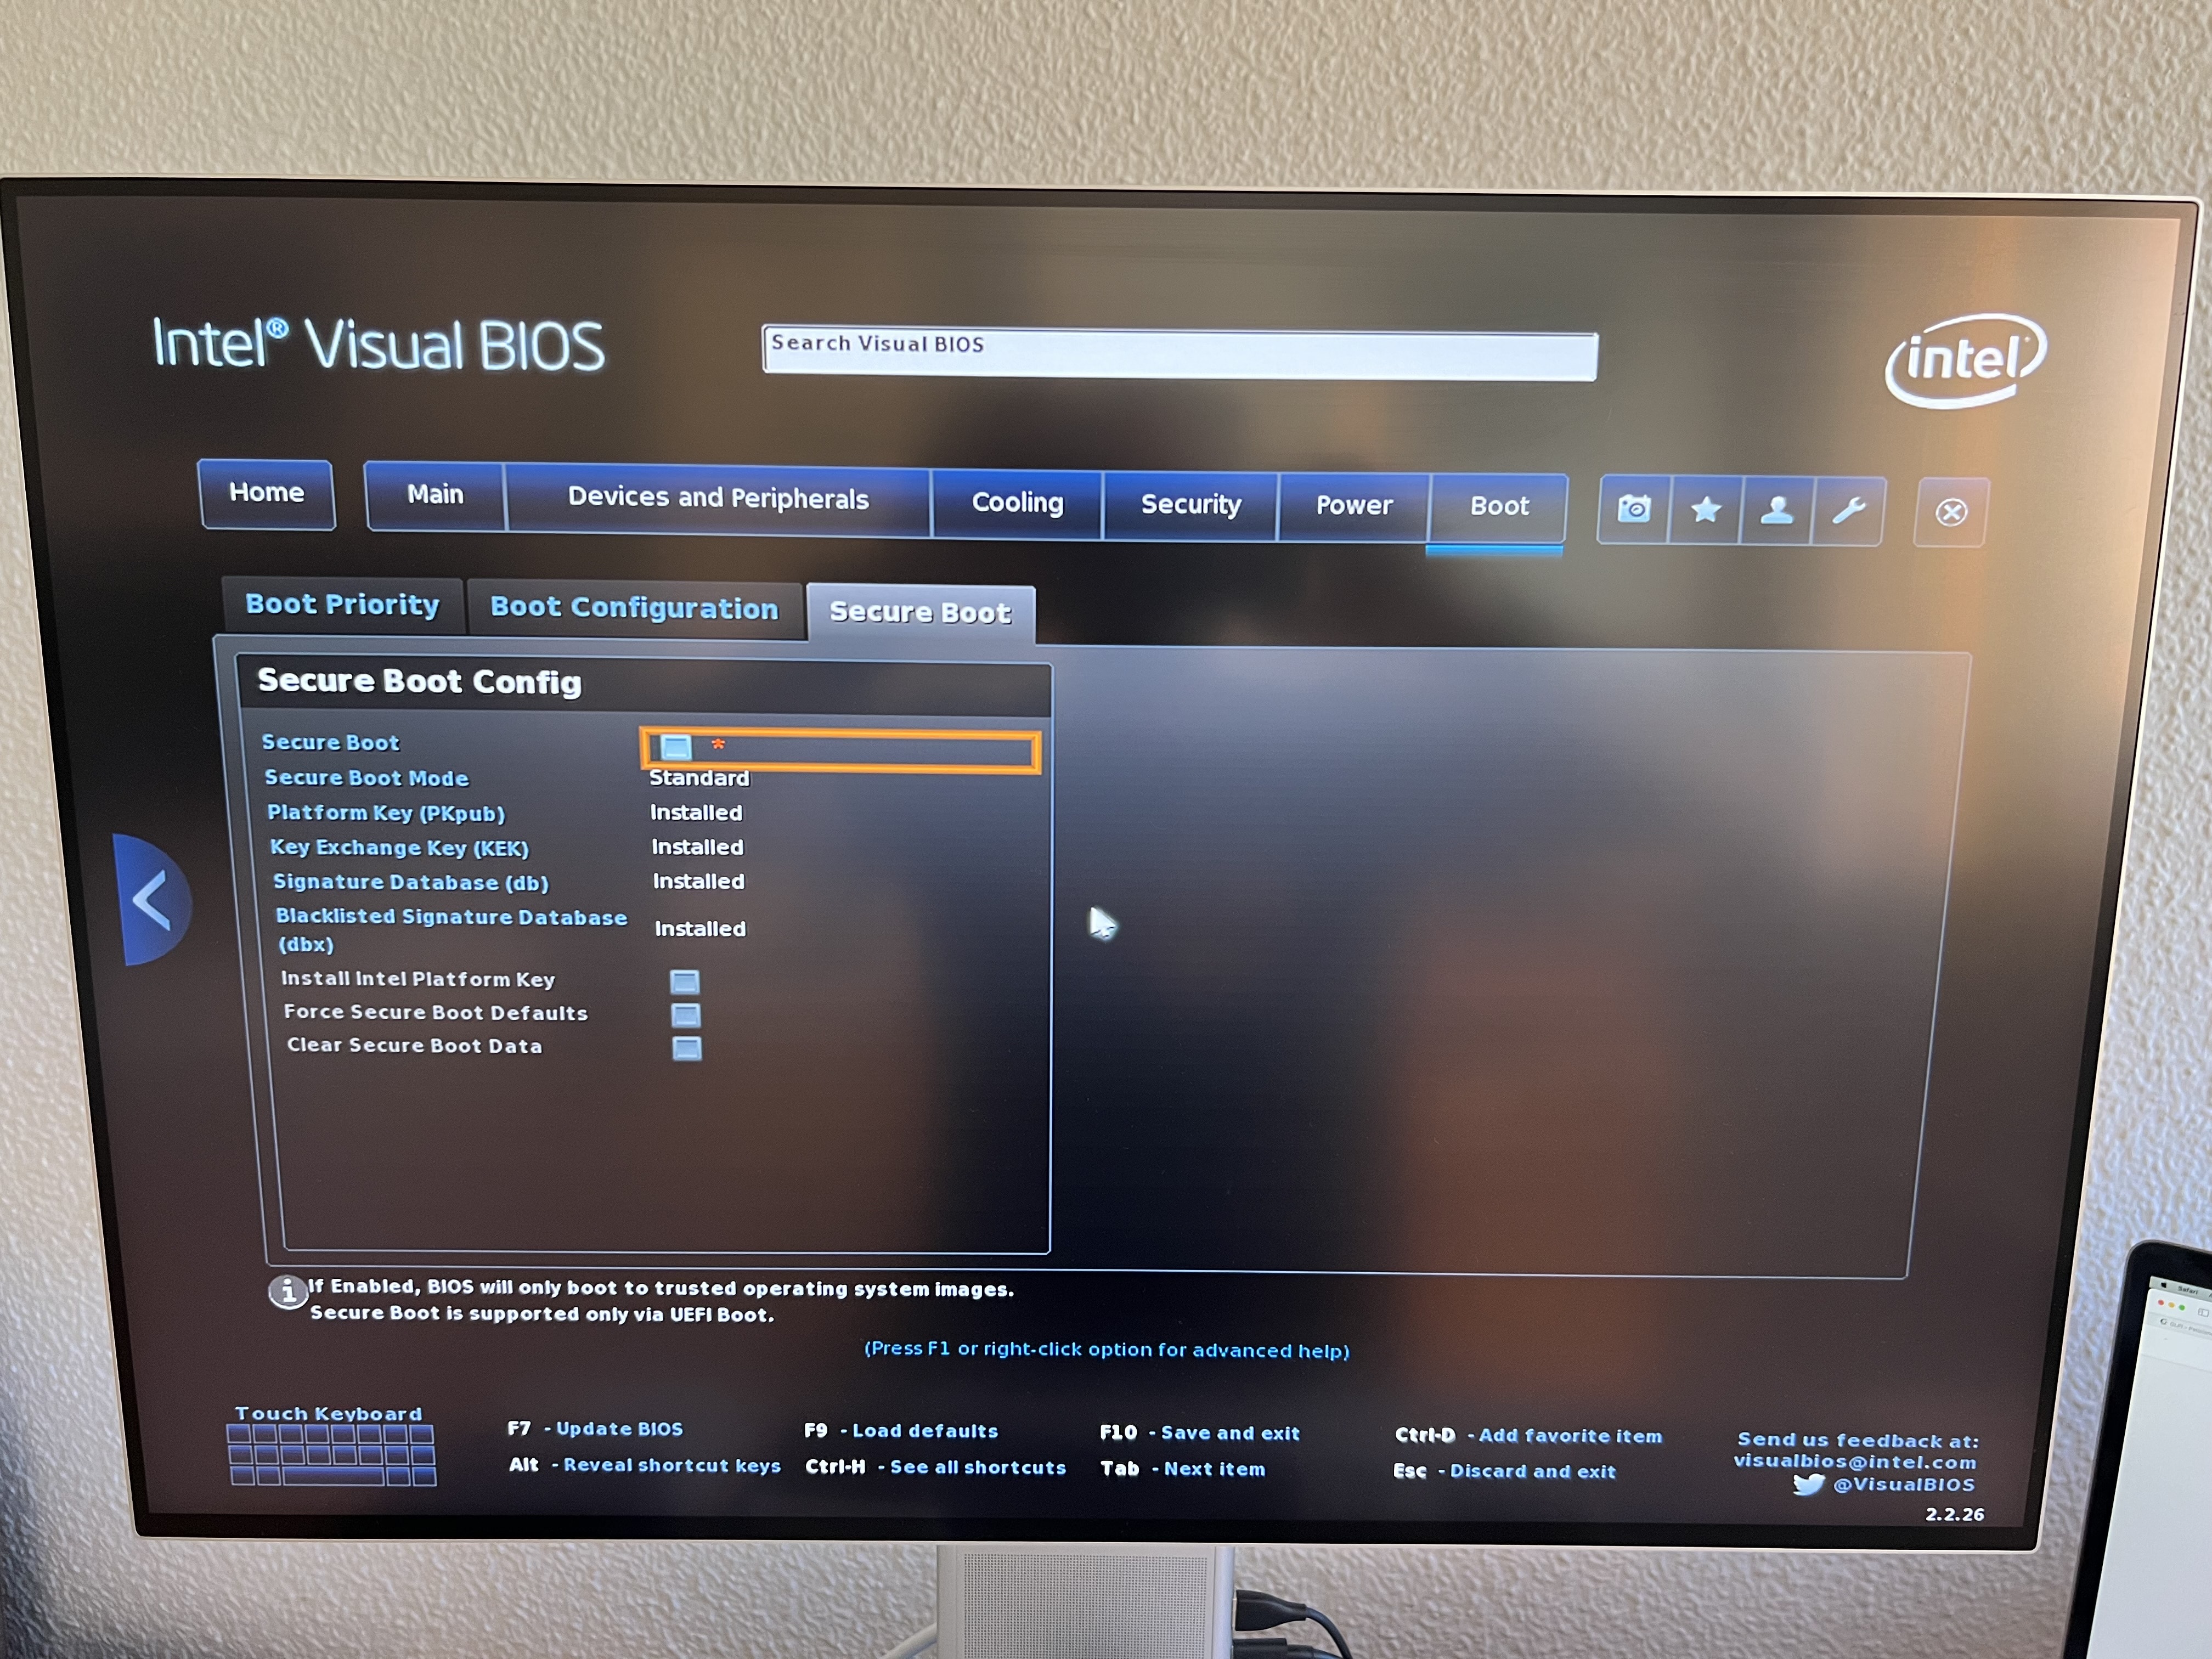
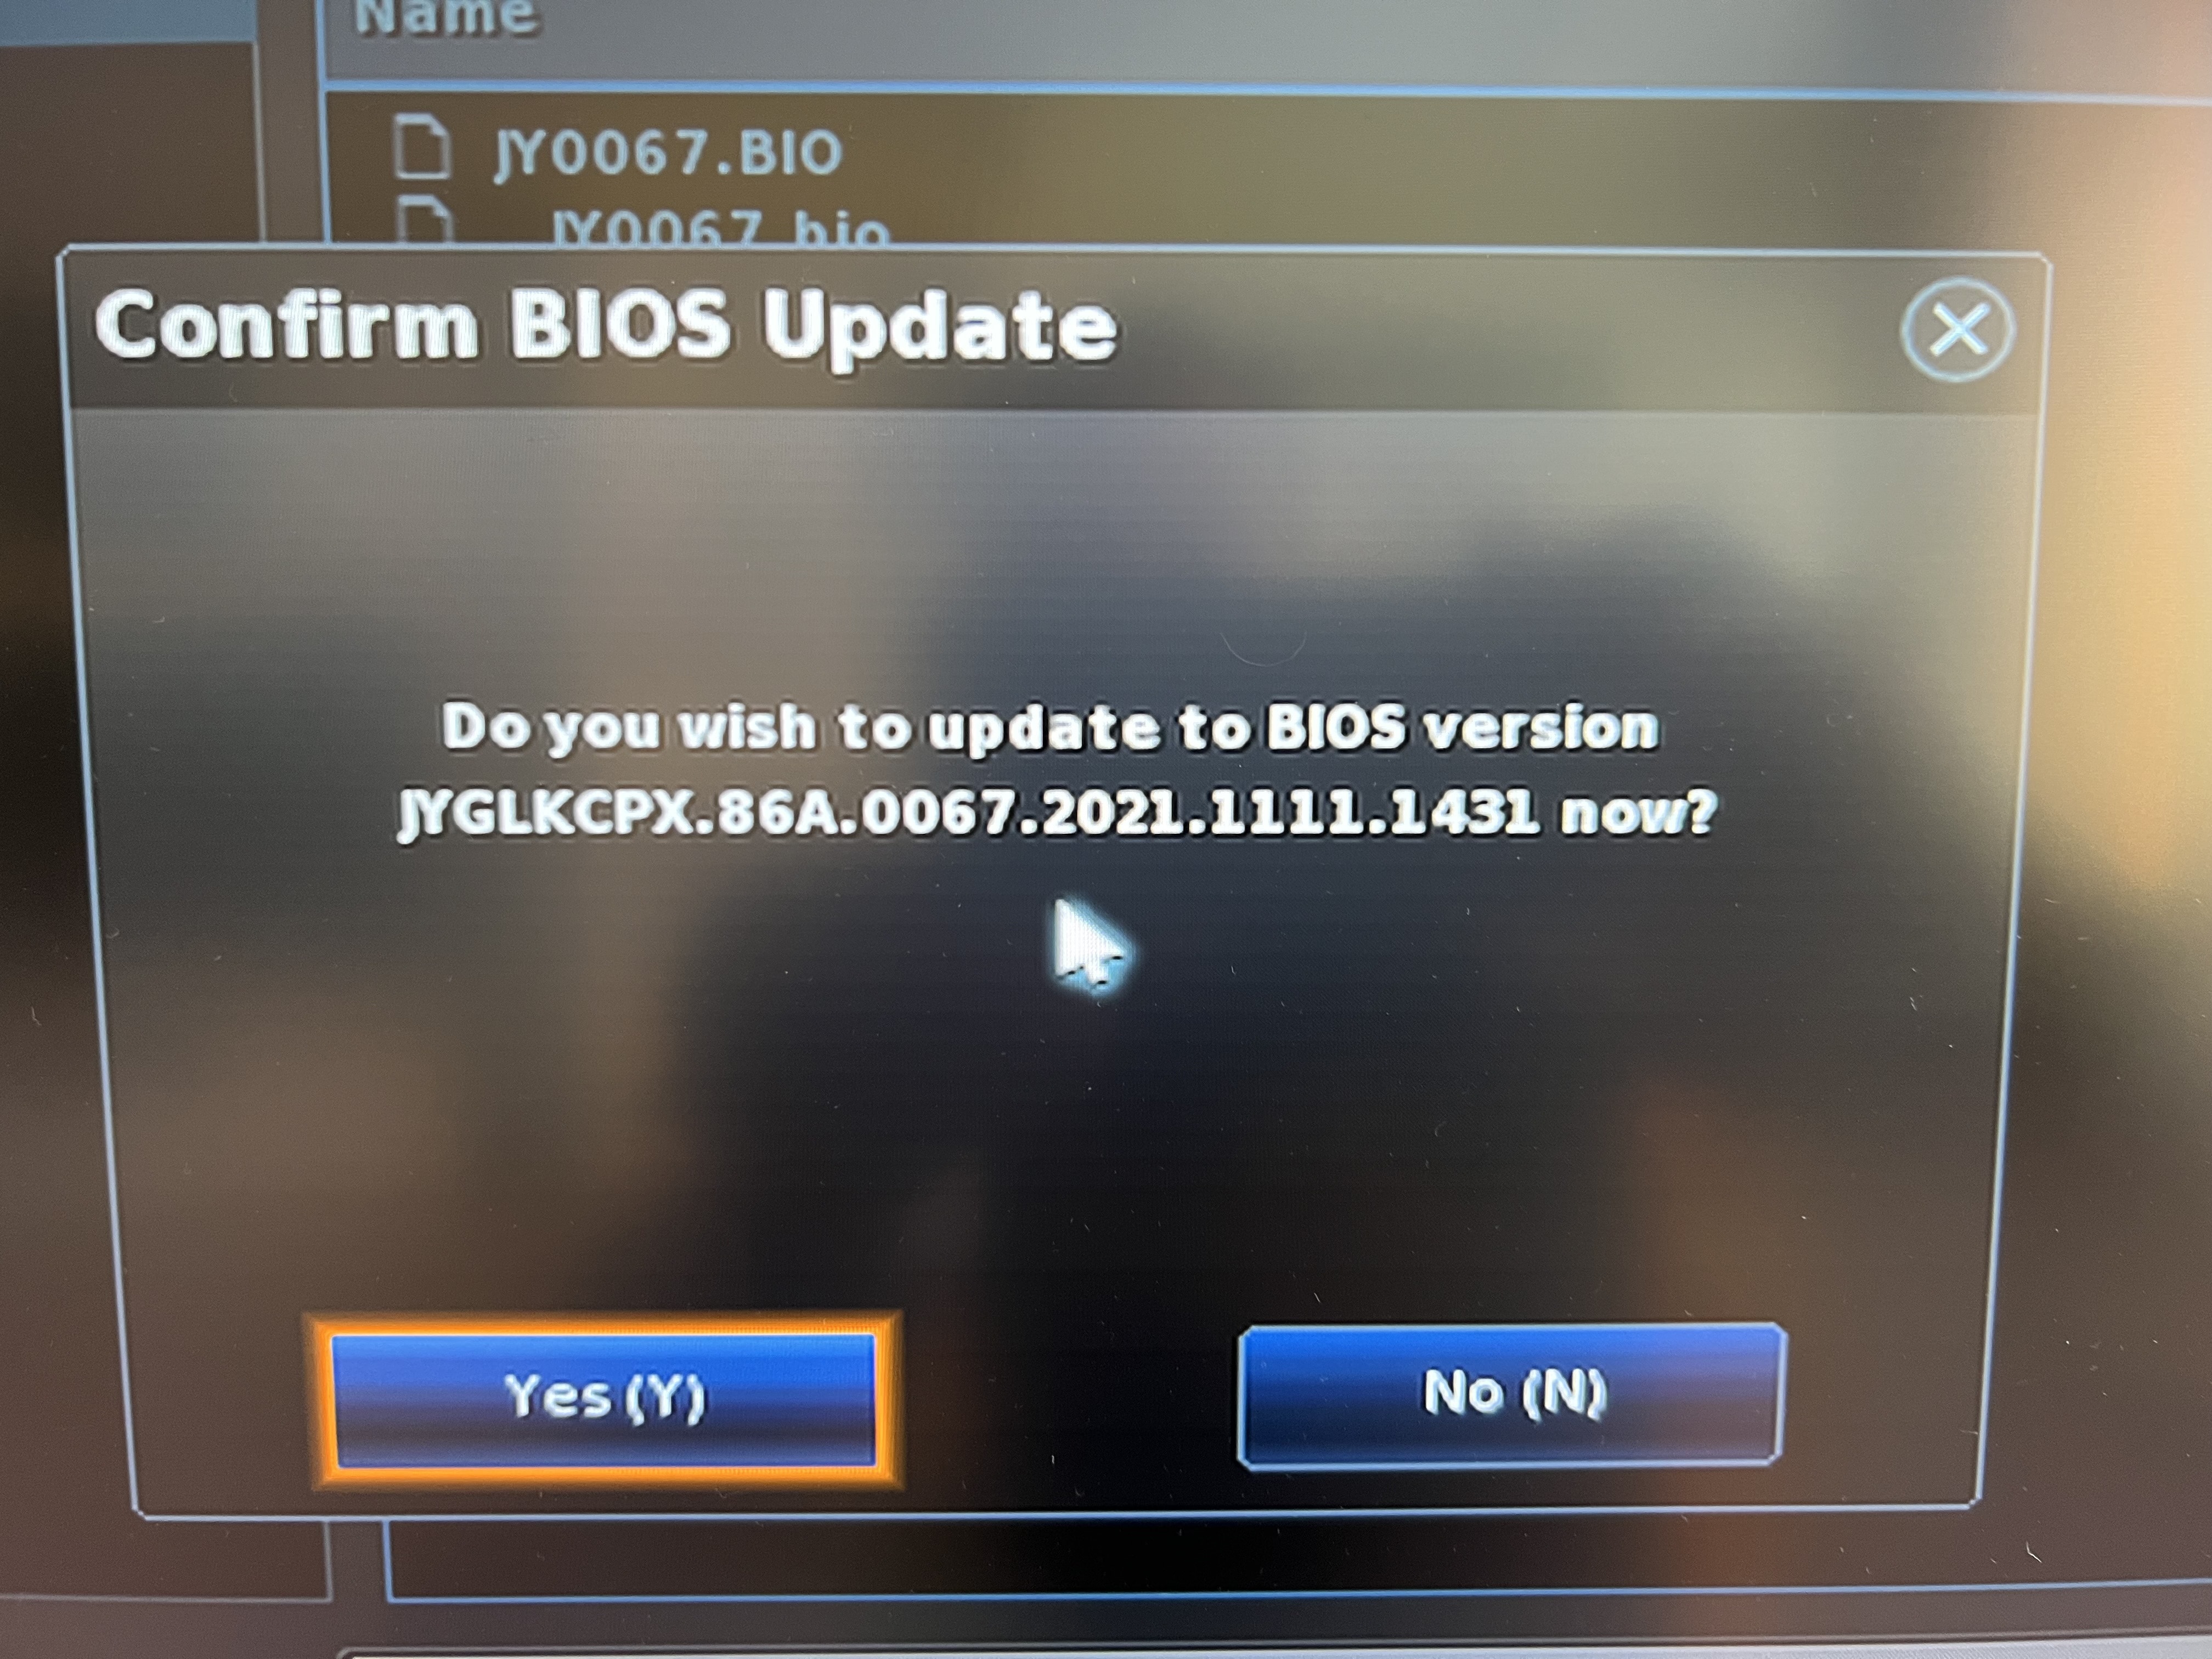
Restoring the backup
Once you have Home Assistant installed on the Nuc, you just need to install the same backup add-on we mentioned earlier, download the backup we made a little while ago, and restore it. In my case, I took this moment to turn off the Pi (also taking advantage of my wife not being home) and plug into the Nuc the Zigbee USB dongle that all my devices connect to, since as you know I don’t use any manufacturer bridge (neither Aqara nor Hue) and all Zigbee devices connect to this dongle. I did this simply so there wouldn’t be any issues during the reboot, in case the Nuc started complaining about installed drivers or the devices said they couldn’t find the Zigbee USB dongle or some other nonsense.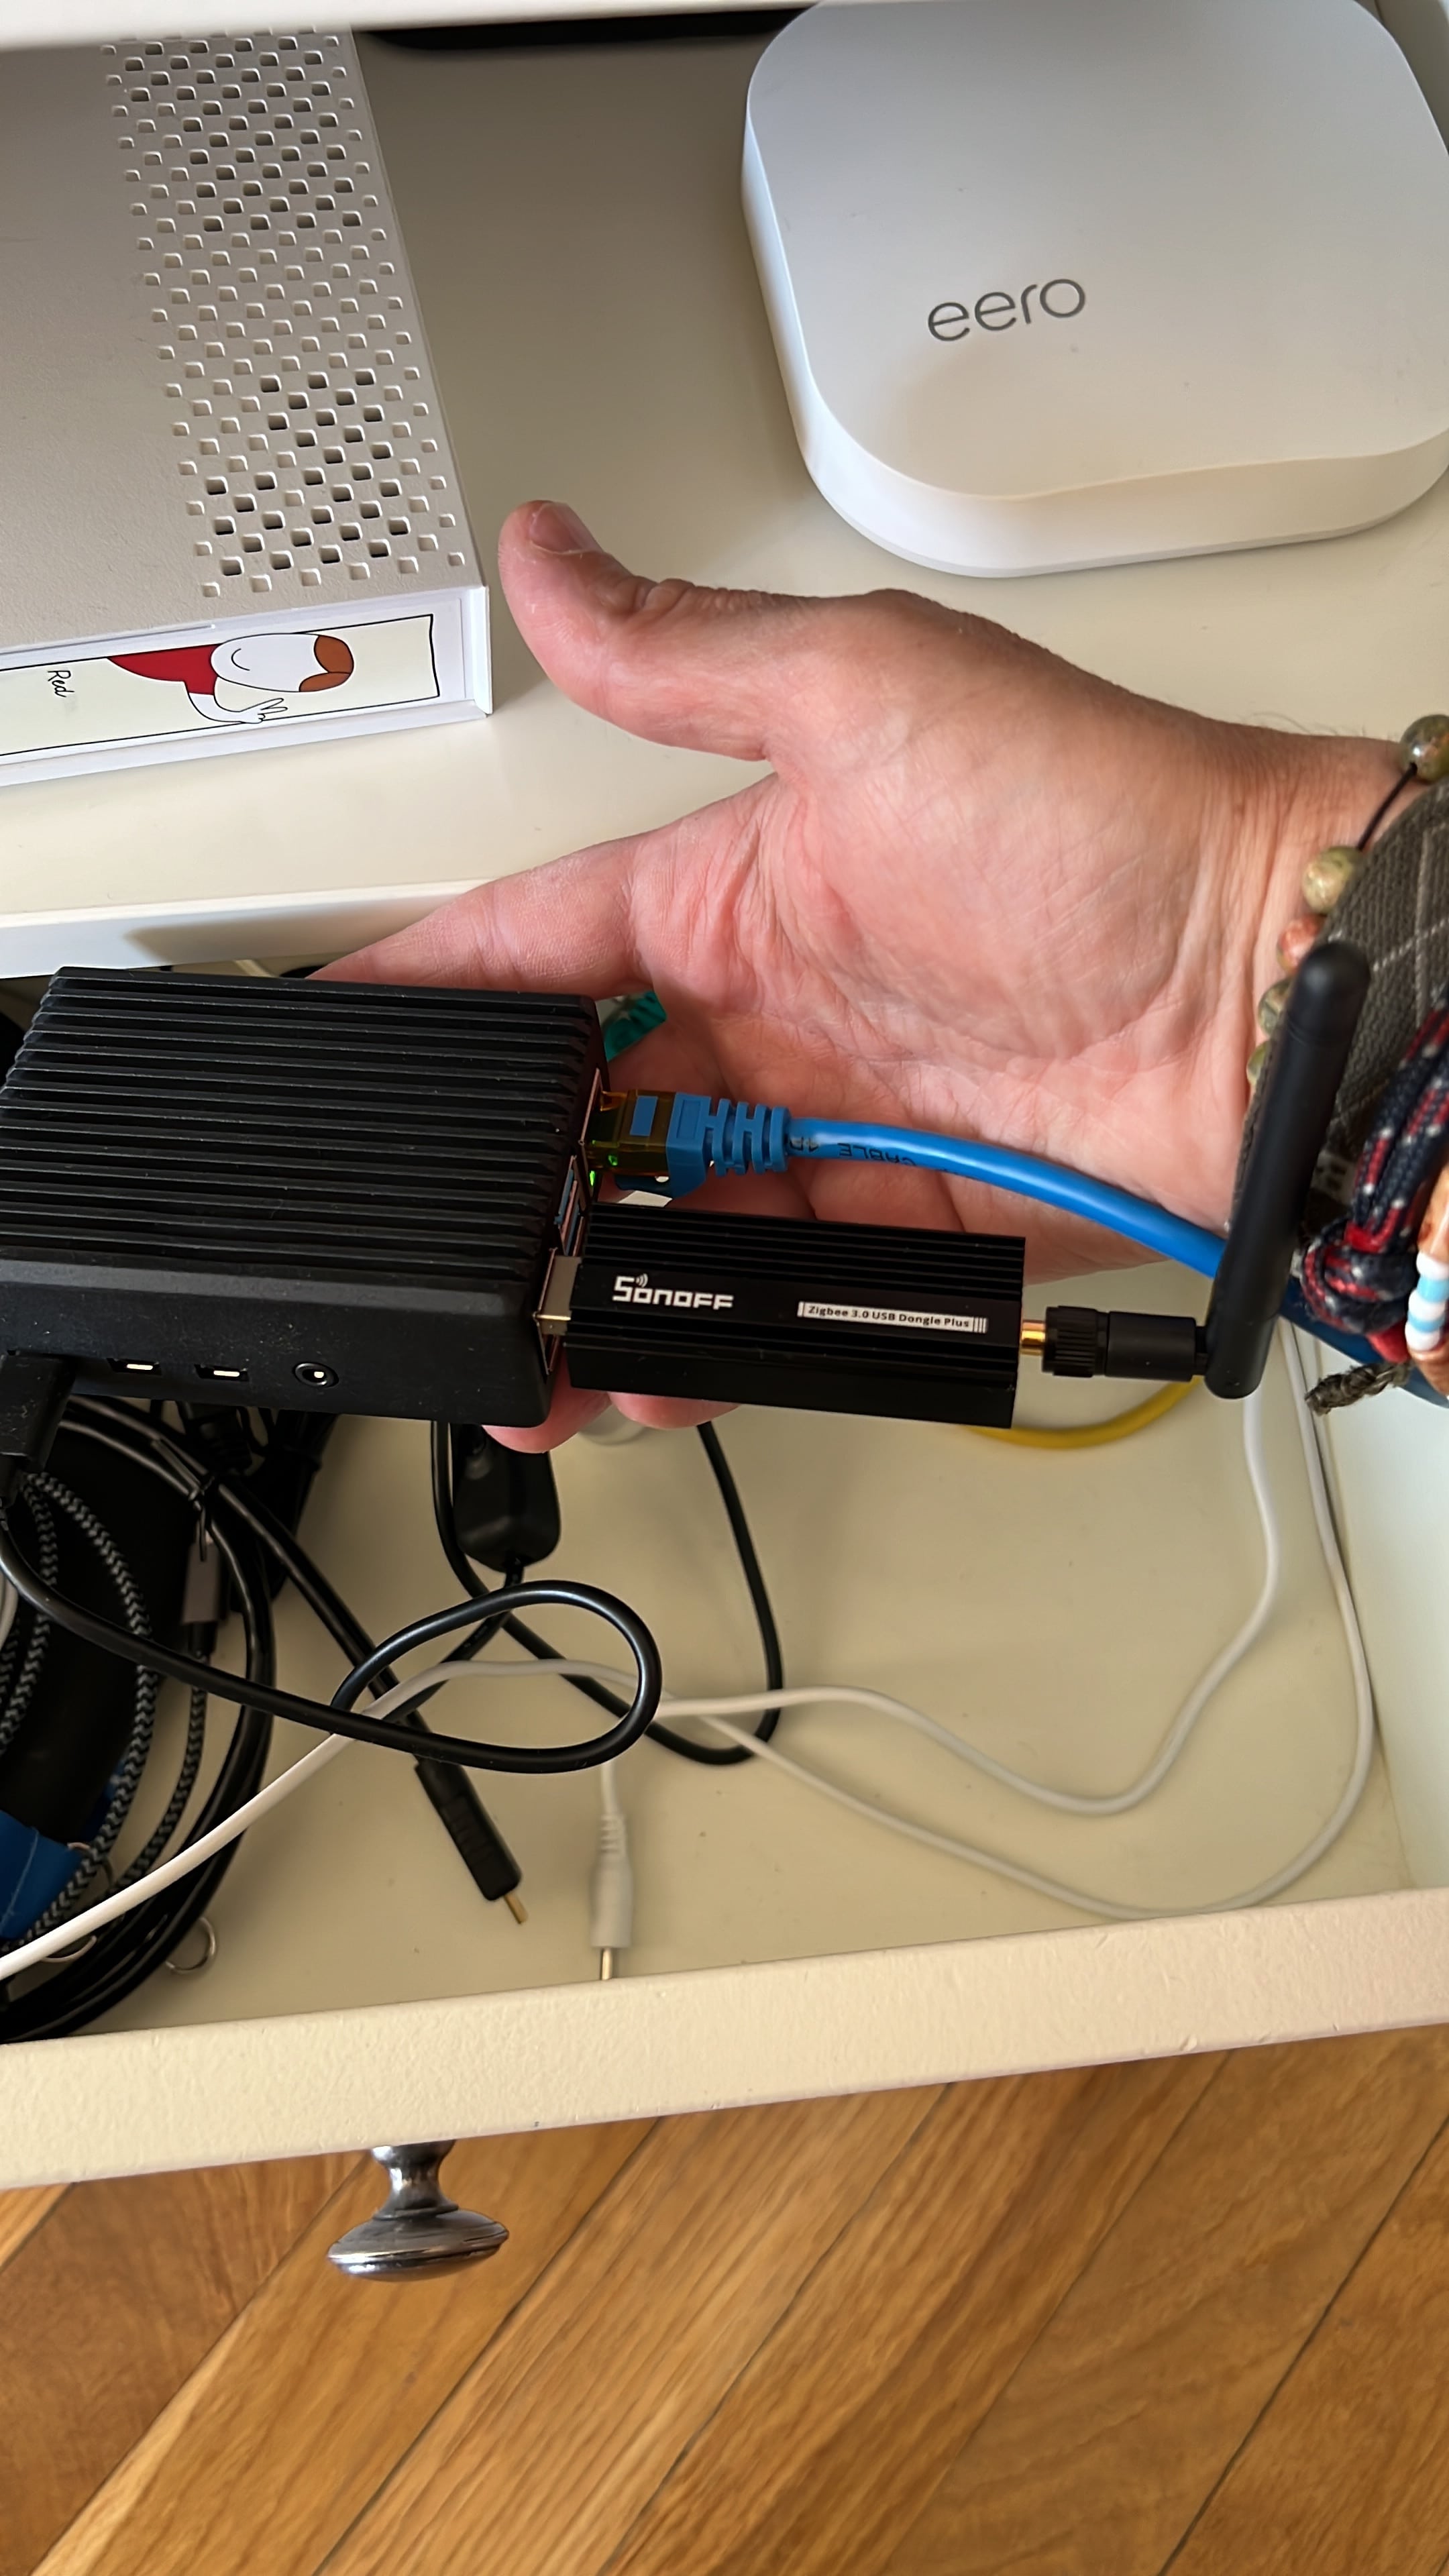
Final location and going into production
And just like that… hahahaha. It’s true that the migration itself is really simple and intuitive: make a backup, install, restore the backup. The tricky part comes with installing the Nuc, which isn’t a simple process, at least not the way I did it. As I mentioned earlier, if you’re going to install Home Assistant on a virtual machine, the process is much simpler, but if you’re going to install Home Assistant directly as the operating system, then things get a bit more involved, and the best thing you can do is follow the article on the Fertry Tech blog I mentioned before.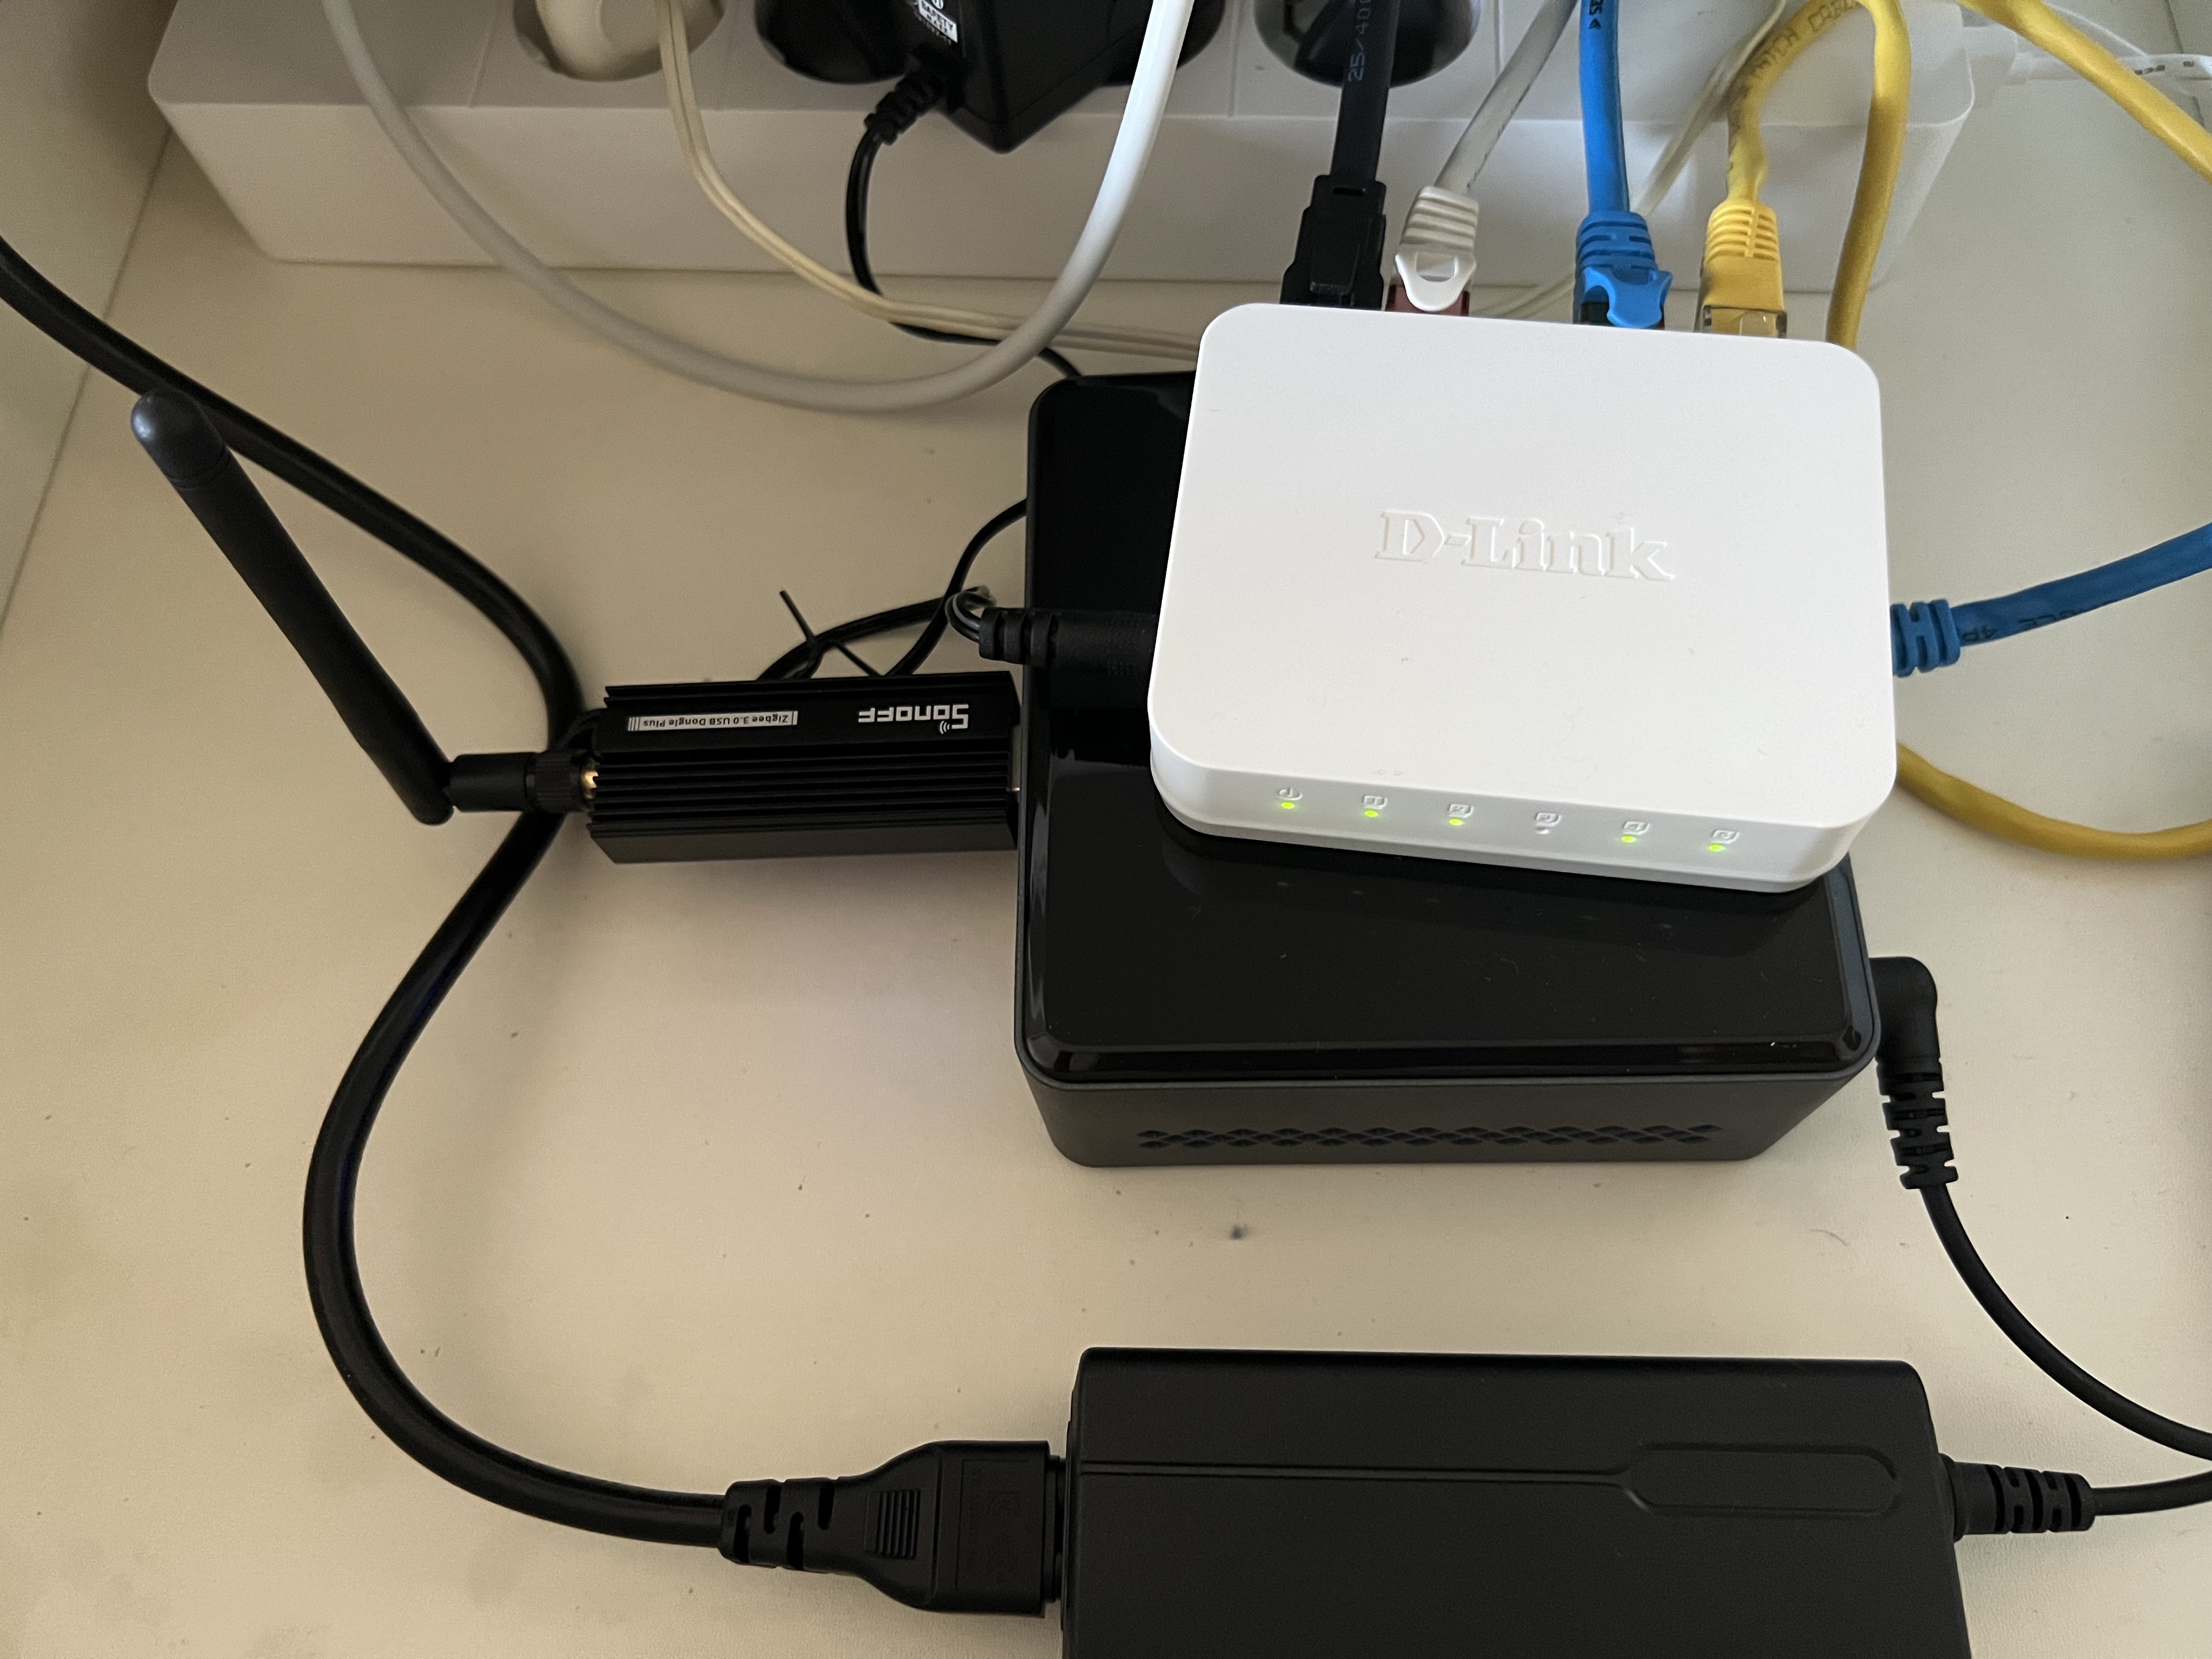
¿Necesitas ayuda con tu domótica?
Te ahorro tiempo, dinero y disgustos. Sesiones de consultoría desde 60€.
Carlos Sahuquillo
'Haga lo que haga en la vida, siempre compito' - Jacques Villeneuve Reserva una sesión →
Sigue leyendo
Ver todo el blog
Entradas relacionadas

8 octubre, 2026 · Domótica
Leer
How to re-pair Zigbee sensors in Home Assistant without losing your automations
Swapping the battery wasn't enough to bring four Aqara sensors back to life. Here's how I re-paired them with ZHA without losing…
Ep. 114 · escúchalo
0:00 / 19:22

1 octubre, 2026 · Domótica
Leer
How to spot issues in a Matter device
I opened Home Assistant's new Matter and Thread map to check which routes my devices are using and see just how useful…
Ep. 113 · escúchalo
0:00 / 14:08

17 septiembre, 2026 · Domótica
Leer
HomeKit with AI in iOS 27
Apple released iOS 27 on September 14th and, as it does every year, I'm going through what's changed in the Home app…
Ep. 112 · escúchalo
0:00 / 12:44
0 comentarios